The Handcrafting of a Rocker Blotter
I make every rocker blotter as though I am making it for myself.
Beginnings
1. I use quality American northern red oak. (Quercus rubra). I have used northern red oak on many projects small and large and greatly appreciate its characteristics. Occasionally I may have other woods available and offered at a price commensurate with the difficulty in working with the wood. Recently (May 2022 to present) I have southern red oak (Quercus falcata) and eastern red cedar (Juniperus virginiana) available in very limited quantities. The blocks I get give me the opportunity to make the bases of the blotters in one solid piece rather than glued up as in the case of northern red oak.


The Base
2. For the bottoms, 1 x 4’s are glued up face to face. I prefer solid blocks of wood but they are costly and not always easy to resaw and square up.
Standard Sized
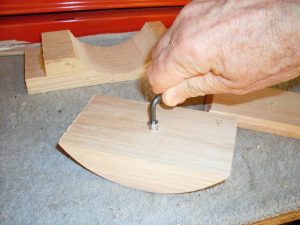
3. The length of the arc will cover a personal check in one motion. This simple jig helps provides a nearly consistent pattern for the next step.

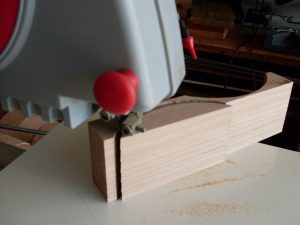
Rough Cuts
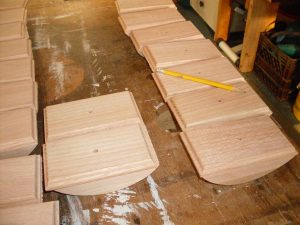
4. Rockers are rough cut on a band saw.
I like to work on about 3 to 6 blotters in a group.
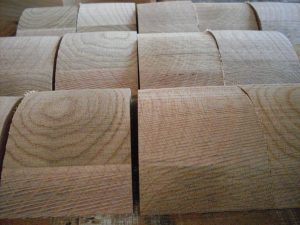
5. There’s a lot of work to do in smoothing these out. No two are exactly the same varying in grain and slightly in size and shape.
In this picture and many others on this website you will see groups of 12-16. That was 10 years ago and my older hands are telling me that 6 at a time is fine.

This is an awesome machine!
6. An oscillating belt sander is used to smooth out the bottoms. I start at 80 grit on the belt sander and then go to 100 grit. This process takes 10 to 15 minutes for each rocker.
Smooth Operator
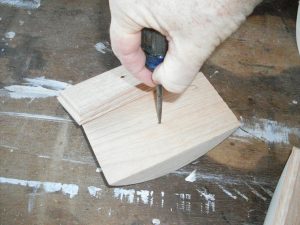
7. Each bottom is checked for squareness to insure a smooth rocker motion


Cutting Top Sections
8. Tops are ½ inch oak stock and cut to width, matching the width of the rockers.
Matching Top Sections
9. Individual tops are cut to match the length of each different rockers so that each set of top and rocker bottom are individually matched.


Shaping the Sides of the Top Section
10. Tops are edge shaped using a table mounted router and Roman ogee bit.
Preparing for the Knob/Handle
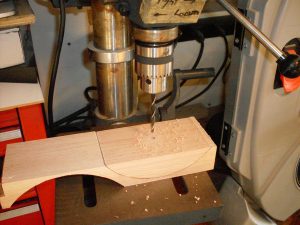
11. Center holes for the handle bolt are drilled

Preparation for Inserting Hardware
12. Using the top as a template the hole for the insert nut is marked.
Drilling the Base in Preparation for Installing the Insert Nut.
13. Holes for insert nuts are drilled. Scrap cutouts are used to stabilize and center the rocker bottom.

Countersinking
14. The top 1/16th of the hole is widened to counter sink the insert nut thus insuring a snug and flat fit for the top section.
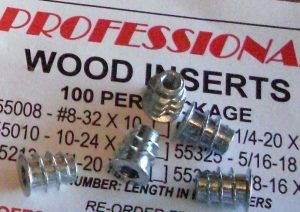
Insert Nuts
15. Insert nuts are used to anchor the brass knob post.
Installing Insert Nut
16. Insert nuts are screwed into place using an Allen wrench
Numbering
17. Paired tops and bottoms are numbered to keep them together through the sanding, staining, and finishing process.

Sanding, Sanding, Sanding
18. Tops are hand sanded at 120 grit, inspected for scratches, then sanded again at 150 grit, and re-inspected again. then sanded again at 180. Whew! This is the longest single step sometimes taking 20 minutes per top and bottom set. Bottoms are machine sanded at 80 and then 100 grit and then hand sanded at 150 and 180. For softer woods like eastern red cedar I will sand up to 220 grit.
Branding
19. The underside of the tops are branded with a simple note of origin. This is not visible in the assembled finished product.

Preparing for Finishing
20. Tops and bottoms will be thoroughly cleaned of dust in preparation for staining. A temporary post is placed in the bottom and top sections to enable handling of the pieces during the finishing process.
Staining (coloring)
21. I offer many color options including natural! — no stain at all. The 4 coats of polyurethane will “warm” a natural finish and I am very fond of northern red oak and eastern red cedar without coloring. Everyone has different tastes so I offer as many as 12 colors. Some blotters are stained with a mixture of Minwax Dark Walnut (2716) and Minwax Provincial (211). This combo provides a pigment stain which enhances the grain and a dye stain for surface color. Please see the Custom’s Options page for more color choices.
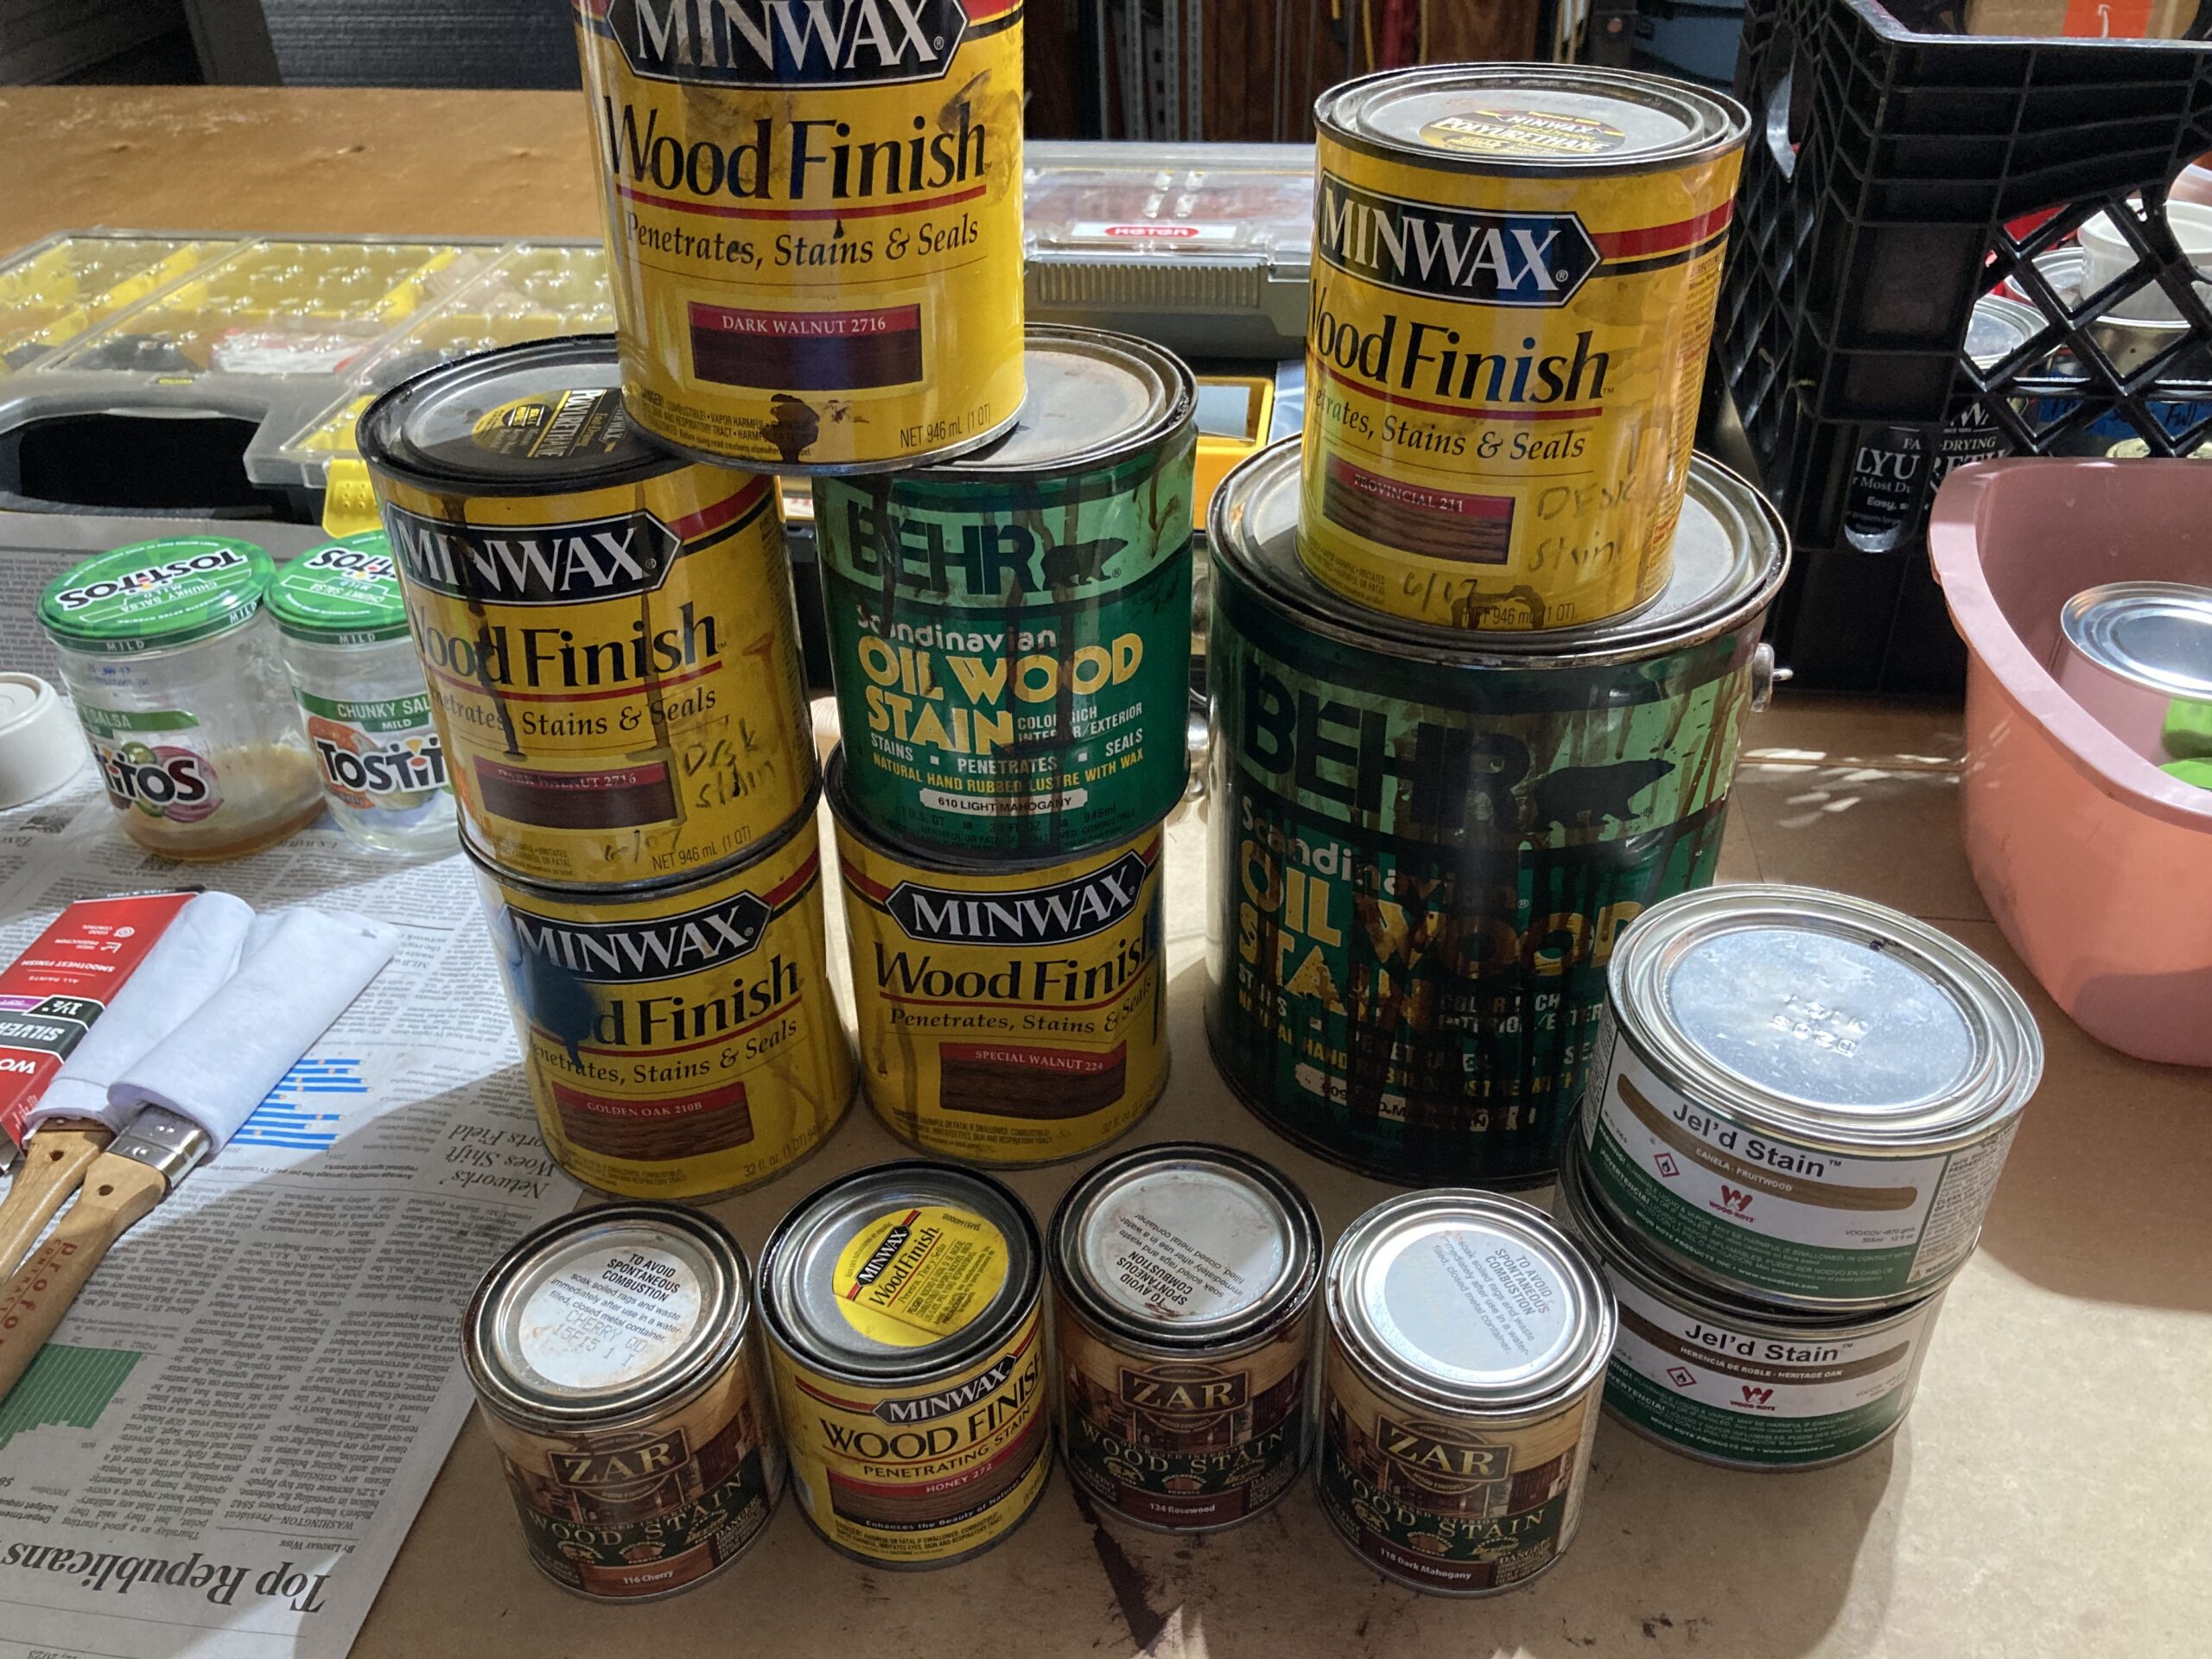
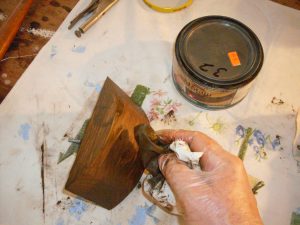
Gel Stains are Also Excellent
23. I also like to use Wood Kote’s Jel’d stain, a pigment stain that accentuates the grain and it is very easy to work with.
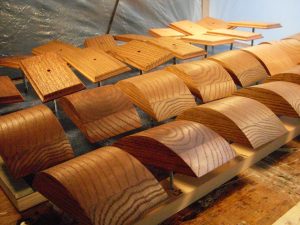
Some Folks Prefer the Natural Color of Red Oak.
24. Some blotters are left unstained displaying the natural beauty of the red oak.


Preparing for Finishing
25. All tops and bottoms, both stained and natural, are then brushed with a first sealer coat of 65% polyurethane varnish and 35% paint thinner.
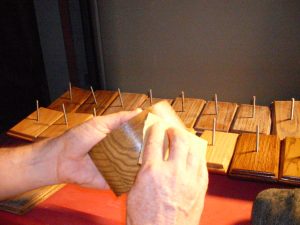
The “Rocker Blotter Incubator”
26. Drying time is at least 8 hours — but more often 24 hours — between sealer coat and each successive top coat. These rocker blotters dry in a dust free tent.
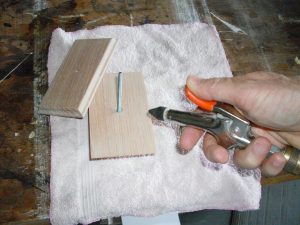
Removing the “Nibs” After the First Sealer Coat.
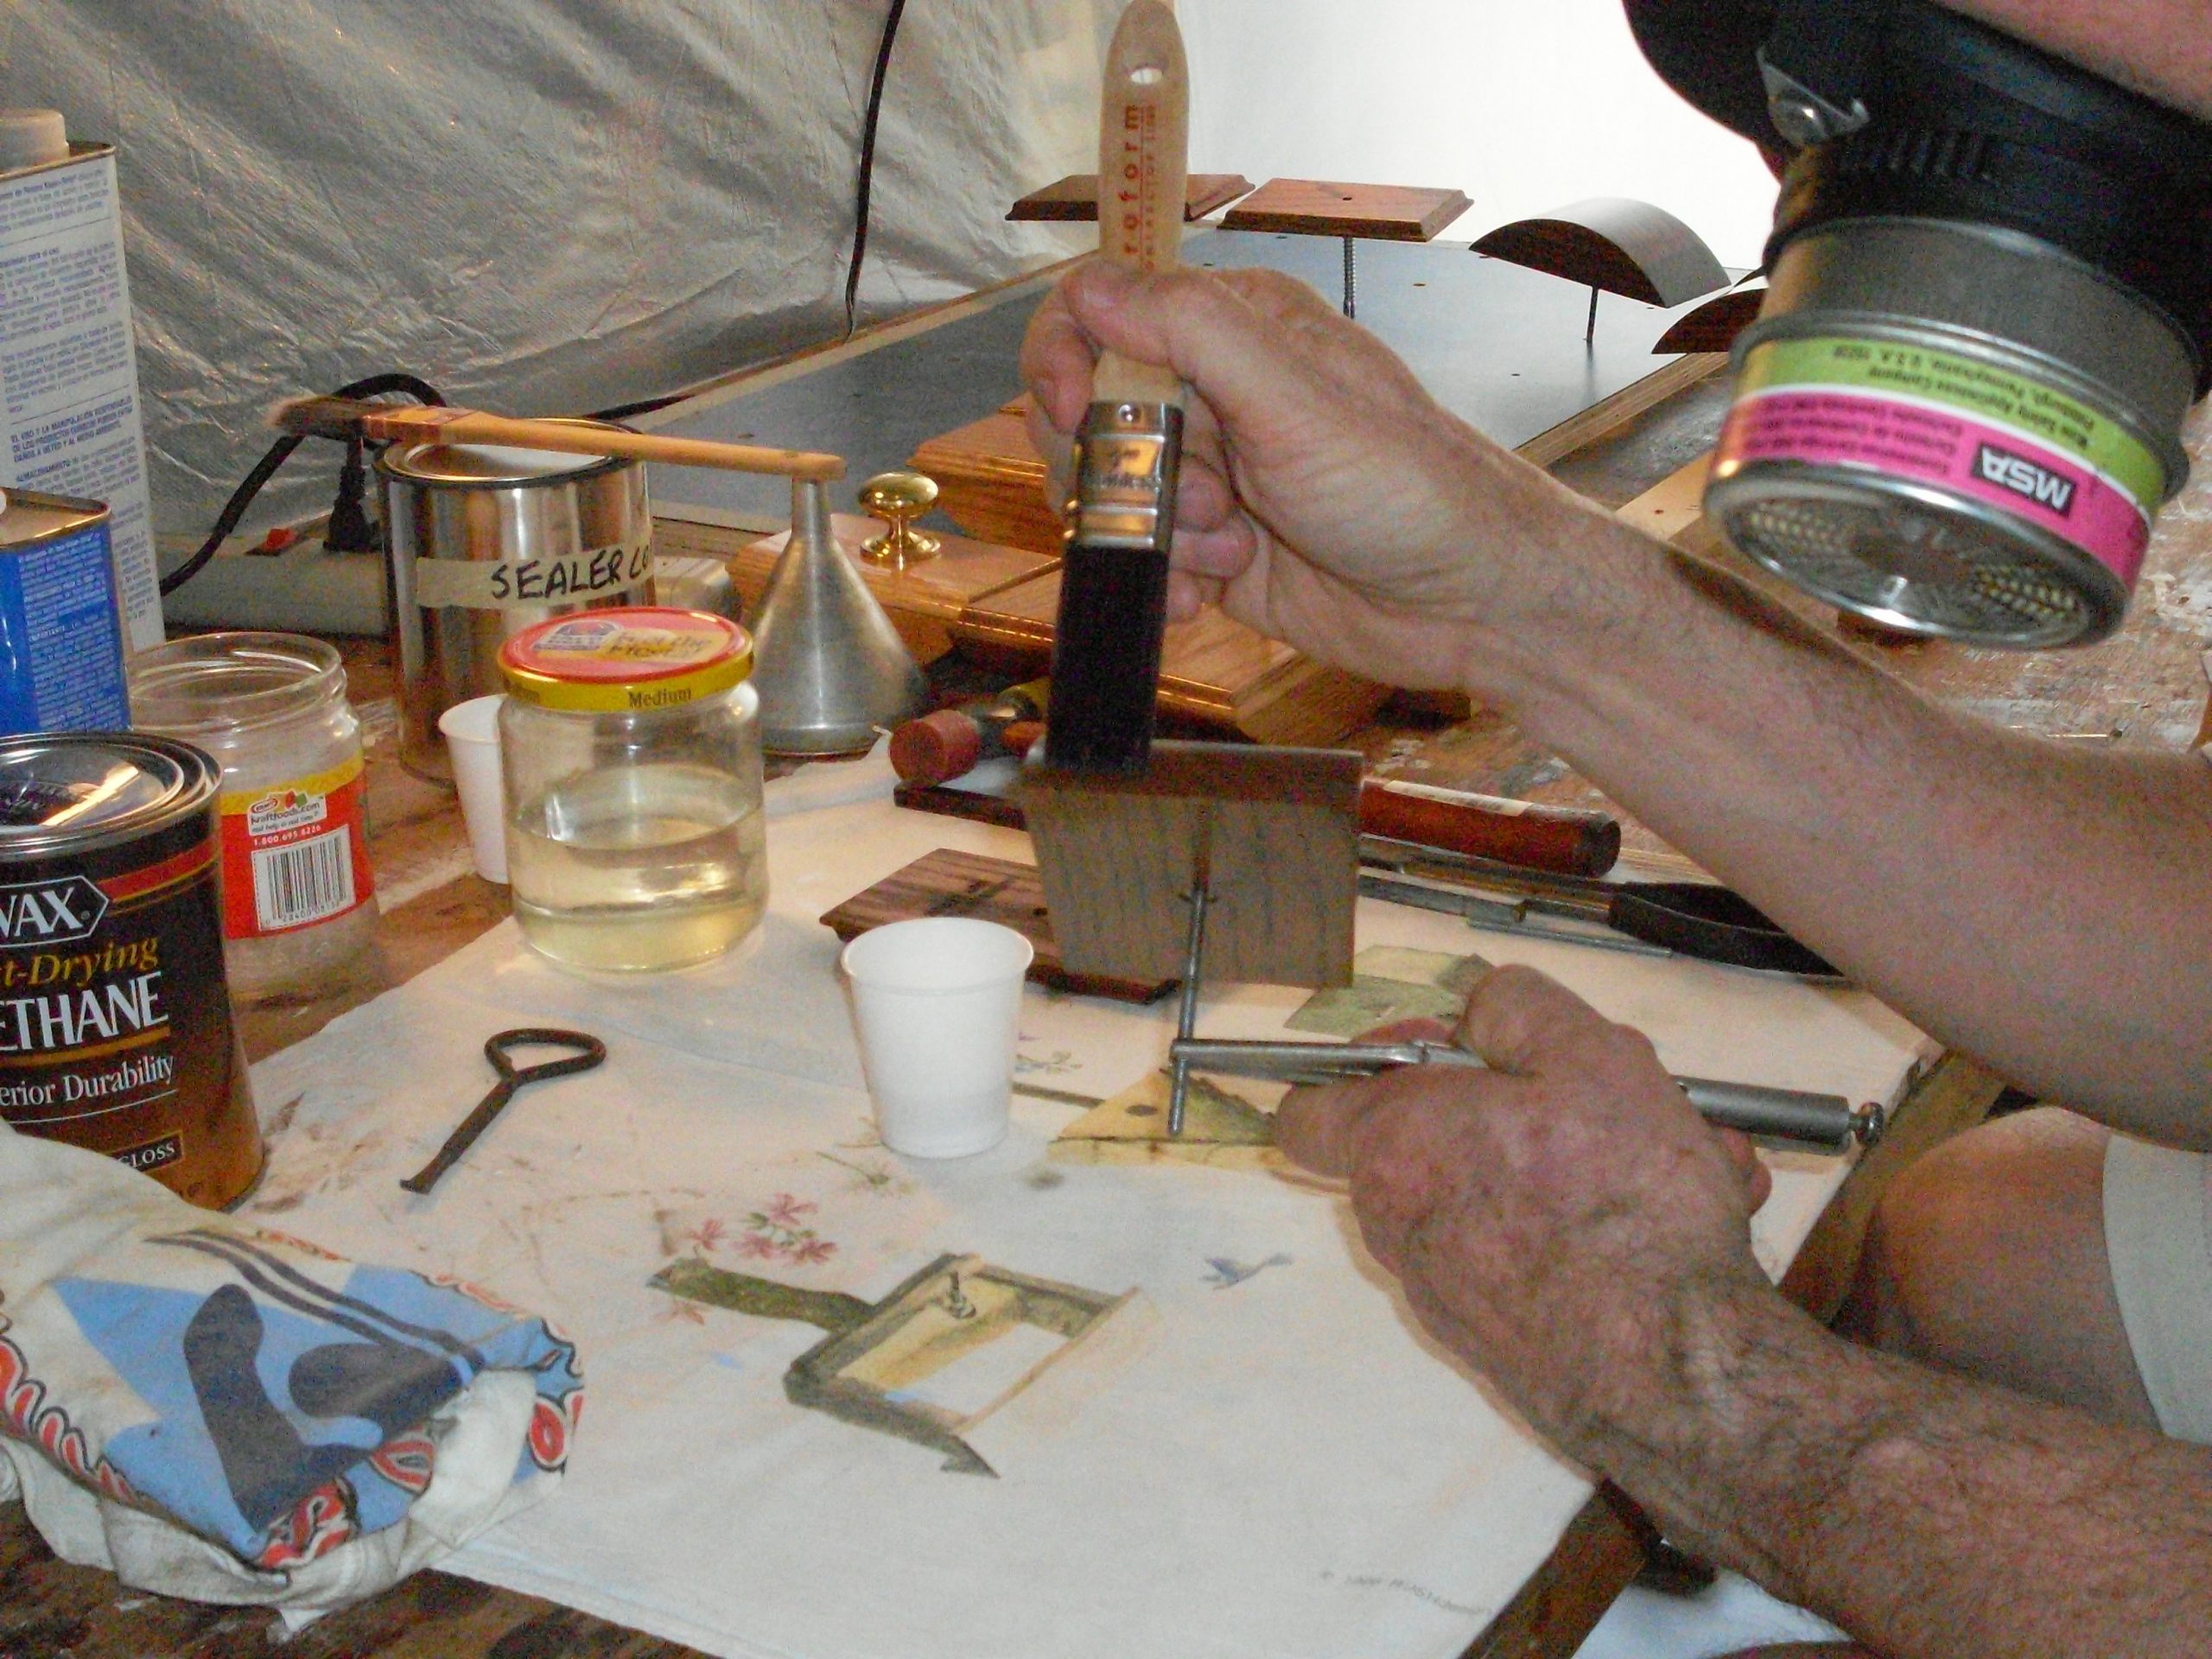
27. After the first sealer coat all pieces are lightly sanded with wet 400 grit paper to remove all the “nibs” that always rise after the sealer coat. This is to insure a very smooth final finish. In this photo I am using a thin spunge to hold the sand paper which works well and doesn’t over cut.
Finishing up with 3 Coats of Sealer.
28. Then each top and bottom receives 3 top coats of oil based semi-gloss polyurethane varnish. The thick top coats will protect them from inks and naturally occurring body oils from the hands. They are easily cleaned with a slightly dampened cloth or a liquid polish if you prefer. Each piece is lightly buffed with 800 grit sand paper after the 1st and 2nd top coats. No further buffing is used after the final top coat.
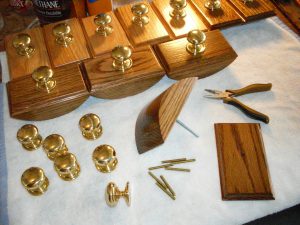
Installing the Knobs
29. Temporary zinc studs are replaced with brass studs and topped off with a knob. There are various knob choices that you can see on the Choosing and Ordering Page.
Installing the Blotter Paper
30. The knob is loosened, blotter paper is fitted, the knob is re-tightened and you are ready to go. Each rocker blotter I sell comes with 5 sheets of blotter paper and you can easily order more here or from many places on line.
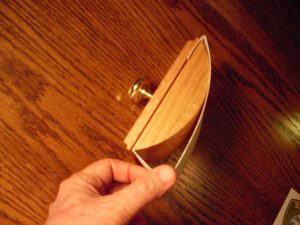

Your New Rocker Blotter Will Last for Many Years!
The pictured rocker blotter on the left is my personal one and the first regular production model — made in 2011.